Some people avoid carving pumpkins simply because they don’t
know how. But with a little help, making a masterpiece out of a
gourd isn’t that hard
There’s always that one house on the block that has this perfect-looking jack-o’-lantern that makes your jack-o’-lantern look like the patch reject.
Yours has the traditional triangle eyes and nose – so what if they’re a little crooked? – and the typical silly grin. Theirs looks like something van Gogh would have masterminded if he’d ever thought to carve a pumpkin.
Give van-Gogh-on-a-pumpkin some competition this year by investing in a few tools and finding the perfect stencil. Carving kits are available at most grocery or drug stores for about $3.
Look for a kit that includes a mini-saw and scraper, which make trying to scoop out the guts of a pumpkin much easier than using just bare hands or a spoon. Books of patterns to carve are also available at most stores, but a few free stencils are available to download at www.spookmaster.com.
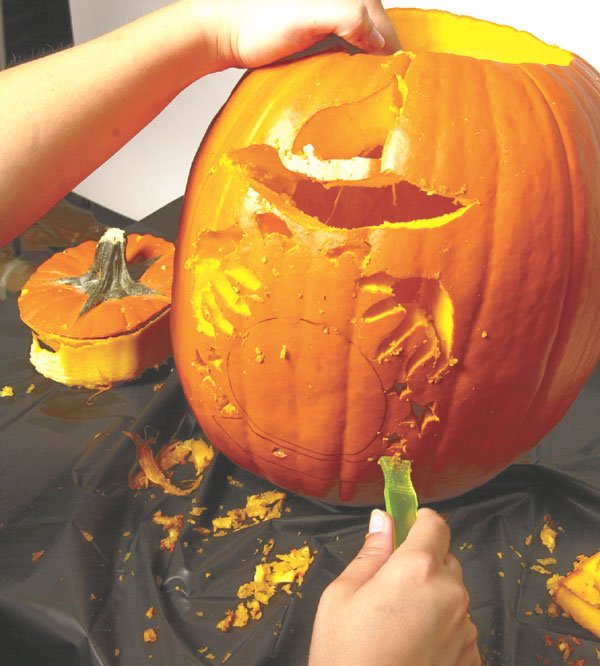
To carve your pumpkin, cut a wide circle around the stem of the pumpkin. Pull the lid off and scoop out the insides. If you want, save the seeds for baking later.
Scrape the insides as clean as you can. When the pumpkin is empty, clean and wash the outside skin.
Take your chosen stencil and carefully trace it onto your pumpkin with a nonpermanent pen. Use the mini-saw to carve along the marker lines. Cut out the small or detailed sections first, like the stars, eyes and specially detailed lines. Saw with an in-out motion.
Once the design is completely carved, wipe off any remaining marker lines with a wet cloth and dry the skin of the pumpkin with a dry cloth.
Get more tips on carving with stencils or doing more traditional designs at www.pumpkincarving101.com.


